
To send chatbot leads to your email inbox, connect the chatbot’s completed inquiry event to a notification workflow, choose a monitored recipient, and test the full delivery path. The trigger should be a submitted inquiry with the necessary fields—not every chat message or every person who opens the widget.
There are three common routes: a built-in lead notification, an automation connected to the chatbot’s form or event, or a custom server-side integration. Use the simplest route that can deliver the required information and expose failures.
1. Define the inquiry fields
For a small service business, start with the requested service, a short description, location if relevant, and one contact method. Ask whether the visitor wants the team to reply about that inquiry. Explain what will be submitted before sending it.
Do not require a long questionnaire before providing basic help. Avoid collecting passwords, payment details, or entire private conversations. A useful notification gives the team enough information to decide the next step.
2. Connect the correct event and recipient
Check whether your platform includes lead notifications. For example, Wonderchat documents email notifications for collected leads. Use the current setup instructions for your platform and verify that the notification destination is the team’s intended inbox.
If you use an automation, distinguish “conversation started” from “lead submitted.” Map the fields explicitly. Keep integration credentials in the platform’s secure settings or on the server. Do not place an email-service secret in public widget code.
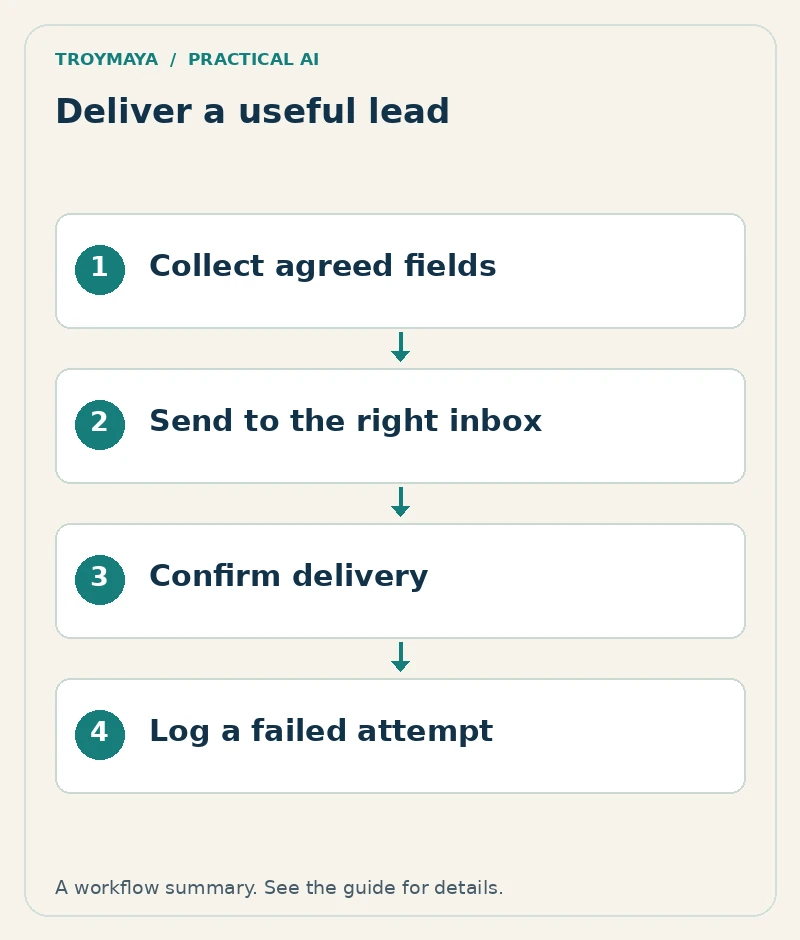
3. Send a notification a person can use
Subject: Website inquiry — cabinet repair — TEST
Inquiry reference: TEST-001
Requested service: Cabinet door repair
Location: Visitor-provided service area
Summary: Damage described; material not yet confirmed
Reply contact: Visitor-provided contact method
Permission: Visitor requested a reply
Submitted: Date, time, and time zone
Source page: Relevant website page
Assigned owner: Service coordinator
This is a fictional example. Do not use a visitor’s address as an unverified sending address. Use your configured sender and, if supported, a validated reply-to field. The recipient should be able to identify the request without opening an unfamiliar attachment.
4. Verify delivery outside the chatbot
Submit a clearly marked test through the real website interface. Check the notification workflow’s status and the actual destination inbox, including spam or quarantine if necessary. Confirm that field labels match their values and that a staff member can reply through the intended process.
Then test a missing required field, an invalid contact entry, and a retry. If the integration exposes only “accepted for sending,” do not interpret that as proof that the email arrived in the inbox. Match the visitor-facing message to what your system can confirm.
5. Troubleshoot missing notifications in order
- No lead record: inspect form completion, required fields, and the submission trigger.
- Lead exists, no workflow run: check the event connection, filters, and enabled status.
- Workflow failed: inspect the recorded error and field mapping; check authorized connection status.
- Message accepted, not visible: verify recipient spelling and check mail delivery, spam, or quarantine with the mail administrator.
- Duplicate messages: inspect repeated triggers and retries; use a stable inquiry identifier to recognize duplicates.
Keep a record of failed submissions so a brief outage does not silently discard an inquiry. Define who reviews failures and when. Avoid repeated automatic retries that flood the inbox.
6. Give visitors a recovery route
A successful submission message can say the request has been received for review when the system has actually recorded it. If submission fails, show a contact-page link or another established route. Do not display the same success message for both outcomes.
Need help connecting chatbot inquiries?
Discuss a chatbot lead workflow with TroyMaya. Include your chatbot platform, email or CRM destination, and the step where requests disappear. Review AI development services for setup and integration work.
Prepared with AI assistance. Examples are illustrative unless stated otherwise.